“The greatest approach for anticipate your future is create it yourself.” — Peter F. Drucker
Changing a basement out of musty and underused into a clean, usable area is within reach. Begin with a accurate floor plan that shows the exterior wall lines, support partitions, doorways, windows, duct runs, and plumbing. This ensures you plan around fixed features and sidestep a cramped, dungeon-like impression.
Define the space’s purpose—whether it’s a guest suite, workout room, home office, accessory dwelling unit, or media room. Remember that you must check local code, such as required egress windows in bedrooms. Set aside funds for materials, equipment, permit fees, and labor upfront. Remodels often run over initial budgets and stretch over a long time, so it’s critical to understand if you should hire licensed trades for framing/structural, electrical, or pipework tasks – See it here about basement remodeling.
Secure the necessary building permits using complete drawings and prepare for inspection visits. They typically include structural items, electrical rough-in, plumbing, and final approval. Once tear-out exposes the foundation, inspect for cracks, leaks, mould, or pooled water. When you discover significant issues, call in specialists before starting insulation and framing.
Experienced basement renovation companies often provide complimentary consultations, clear estimates, and job oversight. They take care of waterproofing, structural repairs, insulation, and final build-out. This guide will assist you in remodeling and transforming your basement. It walks through planning steps, cost planning, permitting, and when to hire a pro for a durable makeover and successful finishing.
Why Remodel & Transform Your Basement
Converting an unfinished basement into livable area enhances home safety, indoor air quality, and property value. A well-planned basement remodel begins by tackling moisture, fractures, and insulation gaps. This early work reduces the chances of mold, cuts down on dust buildup and insects/rodents, and fosters a cleaner living environment.
Health And Safety Upgrades
Basements commonly face water seepage and surface condensation. Reliable waterproofing measures and insulating strategies are key for preventing warm air from meeting cold concrete, reducing mold risk. Sealing up seams and adding rigid foam insulation on concrete surfaces ensures moisture/vapor control, removing the requirement of a separate vapor barrier.
Demo work often exposes hidden foundation cracks, standing water, and mould. Fixing these problems before finishing protects the building and health of the people living there. Adding a dehumidifier, adequate airflow, and humidity-tolerant materials further boosts indoor air quality.
Financial & Lifestyle Advantages
A properly executed basement makeover increases functional square footage and market value. Basements can be converted into theater rooms, guest suites, secondary suites, or offices. Built-in storage by brands like Andersen or contractor-grade fixtures enhance functionality and long-term value.
A basement upgrade gives lifestyle flexibility. Changing a musty storage zone into fresh, conditioned space opens up how your family can use the home and can provide income from renting. Prioritizing waterproofing, foundation work, and insulation helps ensure both everyone’s safety and protection of your investment.
Planning Your Basement Remodel
A solid plan is a must to a strong basement renovation. It helps ensure the job remains on schedule and within your budget. Begin by setting clear objectives for the way you plan to use the space, including movement and light. Deciding these choices from the start helps prevent expensive revisions down the line.
Begin with precise measuring. Use a measuring tape and grid paper or a app to map the space. Include key items like beams, window openings, doors, ductwork, and plumbing lines. Additionally, record the placement of existing HVAC and electrical components. Plan the layout of your intended rooms, like a washroom, sleeping area, workspace, or home theatre. Try for a layout that doesn’t end up with lots of tiny spaces.
Create A Detailed Floor Plan
Map out a detailed plan to scale. Add wall lines, window dimensions, and ceiling heights. If you’re adding a bedroom, ensure the escape window meets minimum size rules and there is a second exit. Place spaces that need plumbing near existing plumbing stacks to limit redo work. Show your drawings with a builder early on to align with your plan prior to framing begins.

Budget & Time Estimates
Break down costs across materials, permits, labour, and a buffer of ten to twenty percent. Decide if to hire equipment or purchase them. A full basement remodel may run several thousand dollars and take weeks to months, depending on the scope.
Prepare for household disruptions due to noise, dust, and reduced space. A designer/architect or contractor may help with phased timelines and trade sequencing. This method can cut delays and keep subs on track.
Permits & Code Compliance
Obtain permits before starting work. Permit applications require detailed drawings of wall locations, ceiling heights, and window dimensions. Expect for inspections on foundation, structural work, and plumbing/electrical rough-ins.
Building codes dictate egress sizing and minimum ceiling heights for livable rooms. Hiring an seasoned builder such as Renovate Builders can make easier the permits/inspections.
Invest effort in creating accurate plans, setting a realistic budget, and working with professionals early on. This mindset lowers risk, streamlines the execution of your design ideas, and helps ensure a smooth remodeling process – Check the details about basement remodeling.
Demolition & Foundation Inspection
Upgrading a lower level starts with complete tear-out and a close inspection of the foundation. A step-by-step approach brings to light hidden issues while ensuring safe conditions for the crew and the home. By pre-planning, homeowners avoid unplanned expenses and speed up the project.
Safe demo practices
Begin by disconnecting power at the breaker panel and verify it’s off with a tester. Clear the area of loose items and portable items before removing built-ins. At all times use protective gear for hearing, eye protection, hands, foot protection, and lungs.
Essential tools include sledgehammers, pry bars, demo saws, drills, and angle grinders with masonry blades. Use a shop vac with a HEPA/fine filter and fans to manage dust. Rent a skip for big debris or industrial bags for smaller jobs. Follow local rules for disposing of gyprock, mouldings, and lumber.
Save materials that are in good shape. Tag wiring and fixtures to help the electrical contractor. Thoroughly clean the space before inviting a pro for the next step.
Inspecting And Repairing The Foundation
With everything is opened up, check for small fractures, larger floor cracks, mold, water pooling areas, drips, surface condensation, and damp areas. Record what you see and write down any active leaks. When you see structural movement or significant leaks, get prompt advice from a licensed structural engineer or foundation specialist.
Minor concrete defects is often repairable with repair compounds. Professional contractors handle buried utilities, house leveling, pier installation, and structural repairs. Adding perimeter drains and sump pumps can prevent later water problems.
A lot of basement remodel firms include foundation assessment and waterproofing within a full-service plan. Addressing structural or moisture issues prior to framing and insulation avoids redo costs and safeguards the finished space.
Practical takeaway: systematically demo to uncover foundation problems, then fix them with qualified pros. Doing so helps ensure your project is structurally solid and properly dried out – Visit the page about basement remodeling.
Insulation And Waterproofing Strategies For Basement Makeover
A great basement remodel hinges on managing temps and moisture. Begin by inspecting the concrete for any evidence of water seepage. Use a layered system that includes rigid foam board for thermal insulation and select waterproofing steps. This system guards your final materials and enhances comfort levels.
Foam Board Installation
Add rigid foam panels, such as 2″ and 0.5″ polystyrene, to clean, dry concrete using foam adhesive in a bead. Make sure each board fits snugly, then push it tight into position after the adhesive has tacked up briefly. Be sure to offset the seams to prevent alignment.
Tape all joints with vapour-barrier tape, such as Tuck Tape. If done right, the foam serves as an air-sealed insulating barrier. It stops warm humid indoor air from touching cool concrete. That significantly reduces condensation during a basement remodel.
Extra Insulation Layers
Once the framing and electrical rough-in, add fiberglass insulation batts in wall cavities to boost the R-value. A typical build includes two foam layers and a 3-1/2″ fiberglass batt to reach about around R-27 toward the top of the wall.
Choose fiberglass designed for basements or areas prone to moisture. Always use complete PPE—eye protection, respirator, and protective clothing—while handling fiberglass batts. Key tools and materials include a sealant gun, utility knife, 4×8 foam sheets, foam adhesive, sealing tape, and Great Stuff expanding foam.
Think about mineral wool (Roxul), spray-foam insulation, or bubble foil as options based on budget and moisture control needs. Select materials that meet your climate needs and local code to achieve a lasting basement transformation.
Best Practices For Waterproofing
Address both outside and inside moisture before finishing work. Fix exterior grading and make sure downspouts send water away from the foundation. Add perimeter drainage and a sump system if a groundwater risk is present.
Use moisture-resistant paints or coatings on interior walls as a second layer of defense. For persistent issues, consult a waterproofing specialist that offers foundation fixes and interior/exterior solutions. Early moisture control prevents mold and safeguards your basement remodel.
| Step | Purpose | Common Materials | Notes |
|---|---|---|---|
| Rigid foam application | Thermal break; airtight layer | 2-inch polystyrene, 1/2-inch polystyrene, foam adhesive | Offset seams; seal with Tuck Tape; no separate vapour barrier needed |
| Studs and fiberglass | Higher R-value; finish-ready cavity | 3.5″ fiberglass batts rated for basements, Great Stuff | Add after rough-in; use PPE when handling |
| Alternative insulation | Moisture control & fire resistance | Roxul (mineral wool), spray foam, foil bubble insulation | Select based on budget and local code |
| Exterior fixes | Lower groundwater intrusion | Grading, downspout extensions, exterior membranes | Correct before interior finishes for lasting basement waterproofing |
| Interior drainage | Handle water that reaches the foundation | Perimeter drains, sump pump, moisture-resistant coatings | Key for basements with a high water table |
Framing, Electrical, Plumbing & Finishes For Basement Renovation
Maintaining a basement remodel on track takes a clear sequence. Start with strong framing work, then coordinate electrical work and rough-in plumbing. Finish with moisture-resistant finishes. Early choices prevent delays when hiring a basement contractor or a full-service basement remodel company.
Core framing basics start at the concrete slab. Install PT sill plates fastened with Tapcon screws. Pick straight, flat-faced 2×4 studs/lumber for the top and bottom plates. Make sure the studs are 16″ apart and walls are straight, level, and plumb.
Build wall panels flat on the floor when you can or fasten the plates and set studs in position for out-of-level floors or floor joists. Rely on a 4′ level and a laser level or plumb bob for accuracy. Essential tools include a rotary hammer, miter saw, driver, and clamps. Nail guns are useful, but hand-driven 10D nails and 2.5–3″ construction screws are solid.
Map out electrical and plumbing placement before enclosing walls. Plan lighting, outlets, HVAC registers, and any future bath or wet bar plumbing now. Pull permits and schedule inspections for framing, electrical, and plumbing work. Comply with codes for venting and escape/egress in bathrooms or egress bedrooms.
During demo and framing, turn off circuits and lock out the meter if required. Mark boxes and trim insulation pieces to fit around them. Coordinate routing for pipes and venting to prevent conflicts with studs and beams. A basement contractor will plan these steps with inspections to avoid rework.
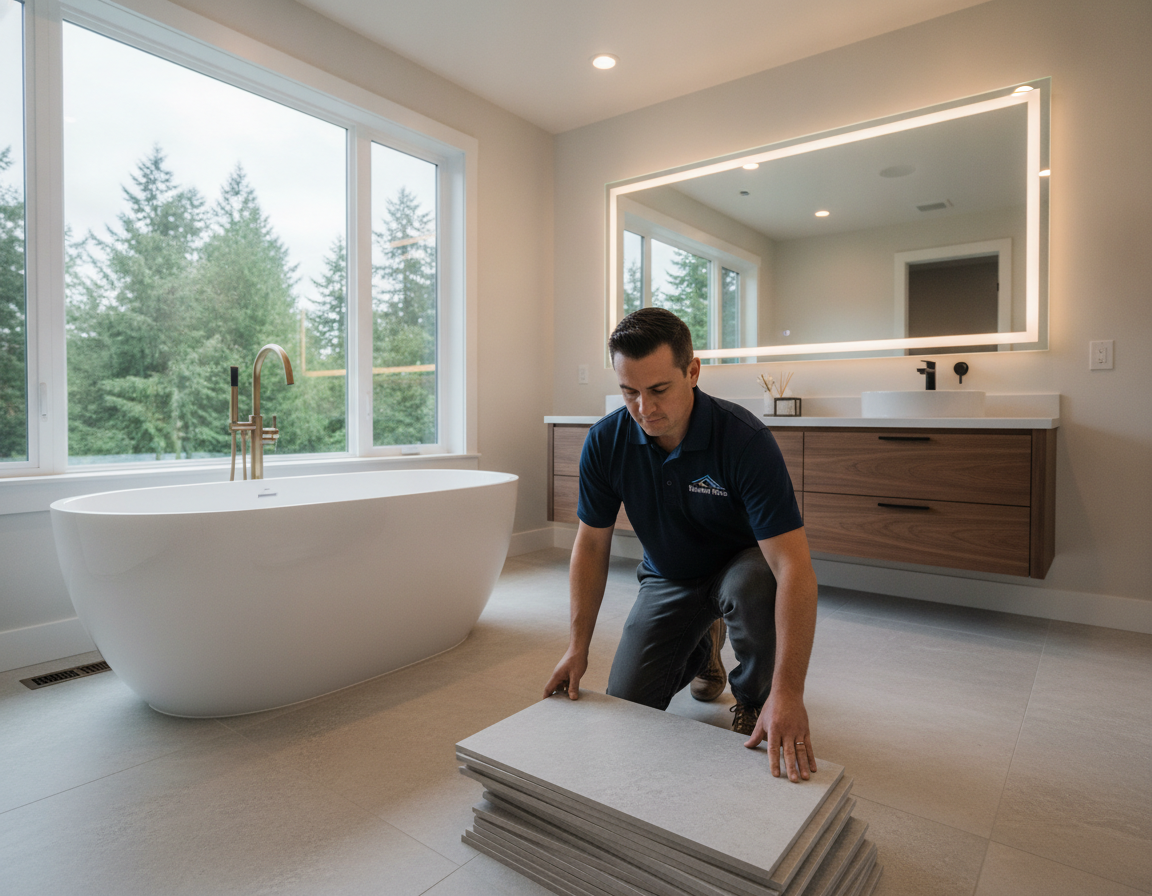
Choose flooring designed for moisture-prone areas. Options include luxury vinyl plank, ceramic or porcelain tile, epoxy floor coatings, and engineered wood systems rated for below-grade applications. Purpose-built floating subfloor systems provide a thermal barrier and lower moisture risk.
Finishes should handle humidity. Install MR drywall where needed. Consider built-ins, closet systems, and cabinets made from engineered materials or sealed ply. Work with a reputable basement renovation company to align finishes to budget and intended use.
Key takeaways: anchor pressure-treated bottom plates to concrete, build walls with 2×4 studs at 16″ O.C., coordinate all rough-ins with permits and inspections, and select moisture-tolerant floors and finishes for longevity. A reliable basement remodeling contractor can enforce these requirements and keep the project moving.
Remodel & Transform Your Basement
A carefully planned basement conversion turns dead space into a useful area of the home. Careful planning work sets the stage for space types, traffic flow, lighting, and mechanical placement. Rely on scaled drawings to confirm escape routes, ceiling clearance, and traffic flow prior to construction starts.
Design Ideas And Layout Planning
Align basement design ideas to the way you will use the space. For a theater room, design acoustics, multi-layer lighting, and tiered seating zones. An ADU or guest suite requires separation, independent utilities, and clear egress. A gym space does best with tough surfaces, vertical storage, and proper ventilation.
Avoid excessive walls. Maintain lines of sight open where you can and position built-ins to maximize storage capacity without crowding the room. Finalize lighting plans, HVAC runs, and noise control in the design stage.
Custom Solutions And Finishes
Custom cabinetry, concealed speakers, and built-in entertainment units deliver a high-end finished-basement look. Select floors like epoxy, tile, luxury vinyl, or engineered wood based on durability and maintenance needs. Match insulation to cost and comfort targets; options include fiberglass, mineral wool, and spray foam.
Finish packages range from budget-friendly to high-end. Choose fixtures and finishes that reflect daily use and long-term maintenance. Consider specialty options like wine cellars, cedar closets, or hidden compartments to bring value and style.
Hiring A Basement Renovation Company
Engage a reliable basement contractor for moisture control, foundation work, and permits. Look for a written contract that lists scope of work, timeline, payment schedule, and warranty. Confirm credentials, insurance, and references before signing.
A lot of remodelers provide free consultations, a needs assessment, and job management. Renovate Builders offers site evaluation, permitting, waterproofing work, foundation repairs, and schedule coordination to help hit deadlines and budgets. Ask for regular updates and written reports during the build.
| Project Phase | Key Tasks | Why it Matters |
|---|---|---|
| Planning | Layout, sound control, lighting, egress verification | Ensures function, code compliance, and reduced changes later |
| Structure & waterproofing | Foundation repair, drain systems, sealants | Protects your investment and prevents moisture issues |
| MEP systems | Electrical, plumbing, HVAC runs | Supports utility needs and comfort |
| Final finishes | Floors, cabinetry, built-ins, fixtures | Creates the final look and supports daily upkeep |
| Management | Permits, inspections, timeline, communication | Helps keep the build on schedule and on budget |
Final Thoughts
Start your basement remodel with a strong plan and achievable goals. Get the required permits and schedule demo safely. Up-front foundation review are critical. Fix any cracks or drainage issues before adding foam board insulation and framing the walls.
Install pressure-treated plates and 2×4 studs for framing. Ensure wiring and plumbing are done correctly, following code. Finish with moisture-tolerant flooring and custom built-ins for a durable result.
Working with a qualified basement remodeler can help make the process easier and safer. Pros add experience in waterproofing, foundation work, and layout. Many of them provide complimentary consultations and clear estimates, helping you remain within budget and timeline.
A well-planned basement remodel boosts health, comfort, and property value. It lowers mould and pest risks, adds livable area, and boosts IAQ. For a successful outcome, prioritize moisture control and foundation work. Think about bringing in a seasoned pro like Renovate Builders for guidance and oversight.
Related: Basement Bathroom Remodeling Redmond Wa: Special Considerations